

After installation, and the
first launch of the programming tool,
you can start to develop your own application,
or pick one of the demo files contained in the 'Programs' folder (not to be confused with the 'Windows' programs directories).
If possible, use a PC with two monitors connected (one monitor for the 'LCD Simulator',
one monitor for the programming tool's main window).
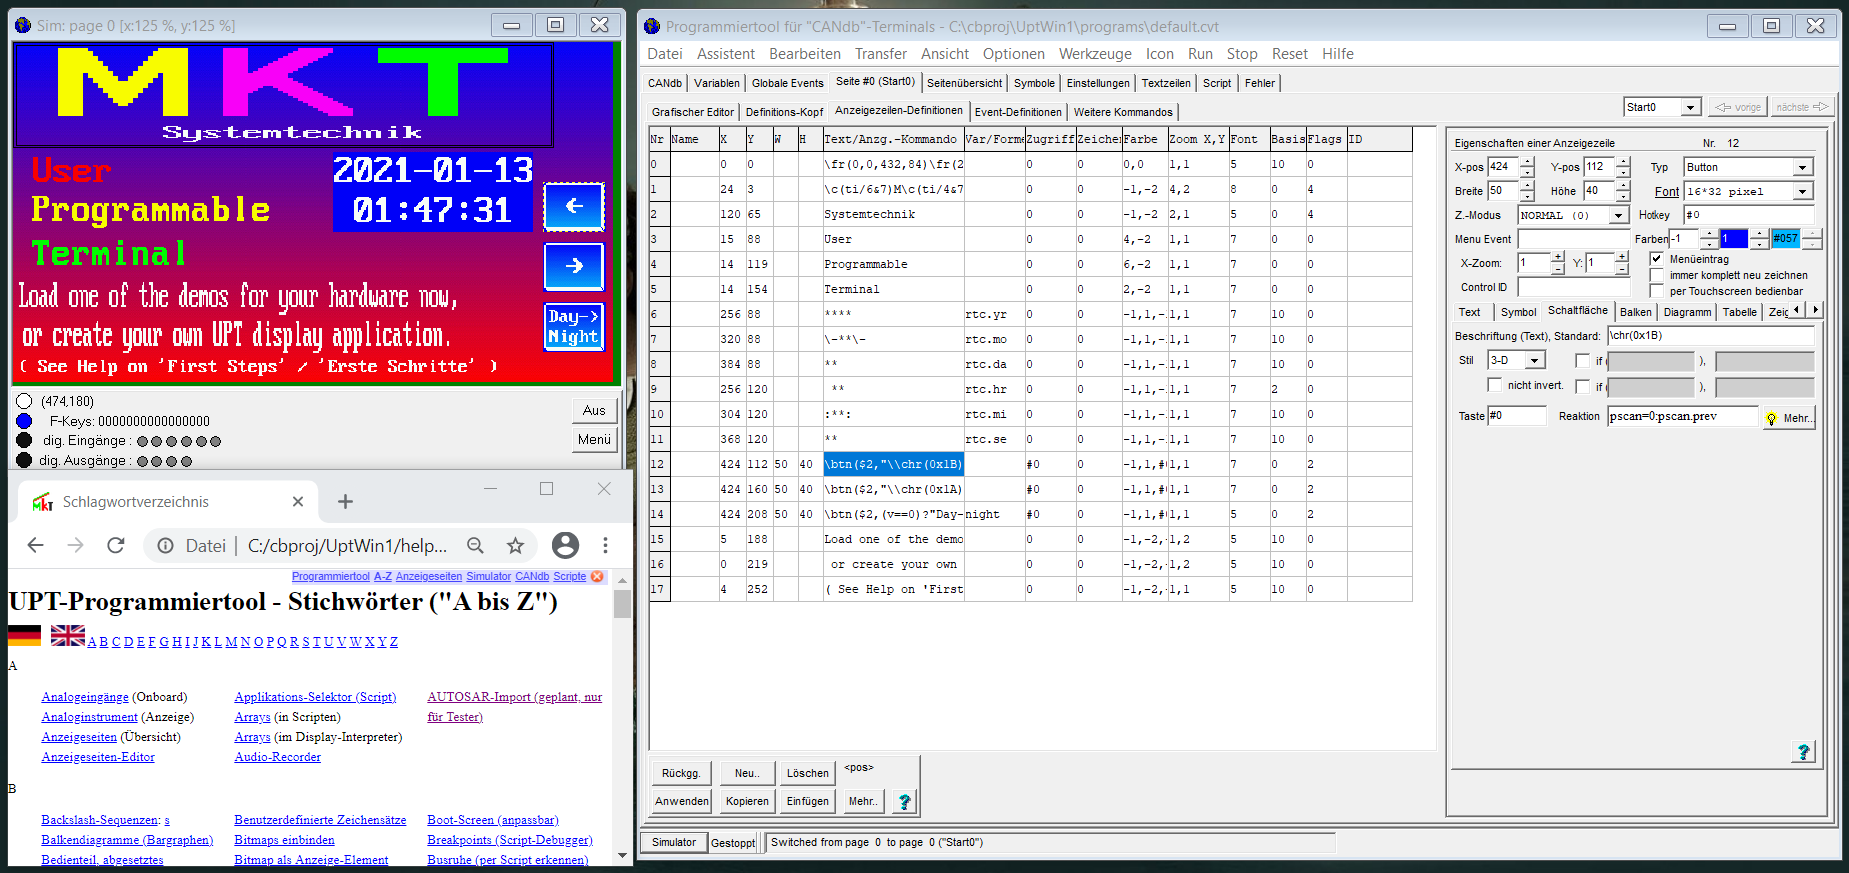
LCD simulator (upper left), programming tool (right) and browser-based help system (lower left) on a large desktop.
Click into image to magnify.
The programming tool's main window contains two levels of tab sheets, where you can import
CAN (and other) databases, graphic images (icons), create display pages for your applications,
and implement a bit of 'logic' (like scripts or event definitions) for automated test runs, etc.
Display pages are generally created on the tab labelled "Page X" (where X indicates the current page number and name).
This tab has several sub-sheets with a graphic editor and a table-like textual editor,
to define many kinds of display elements (e.g. fixed text, alphanumeric display, buttons, bargraphs, Y(t) diagrams, needle instruments, ..).
For beginners, we suggest to read the PDF presentation
(currently only available in german language), then load some of the demos provided for the particular hardware:
If not also the 'display', but also a part of the surrounding front panel shall be displayed in the simulator,
select a suitable background image.
For advanced applications / automation, consider using the Script Language.
The script manual contains lots of examples for multiple purposes.
< the rest of this file has not been translated into english yet - sorry for that ! >
Please use the complete manual for the programming tool.
Also, don't miss the Keyword Index ("A to Z").